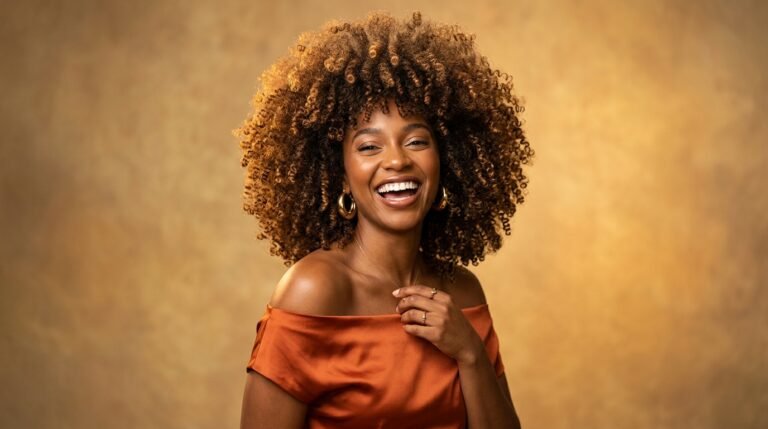
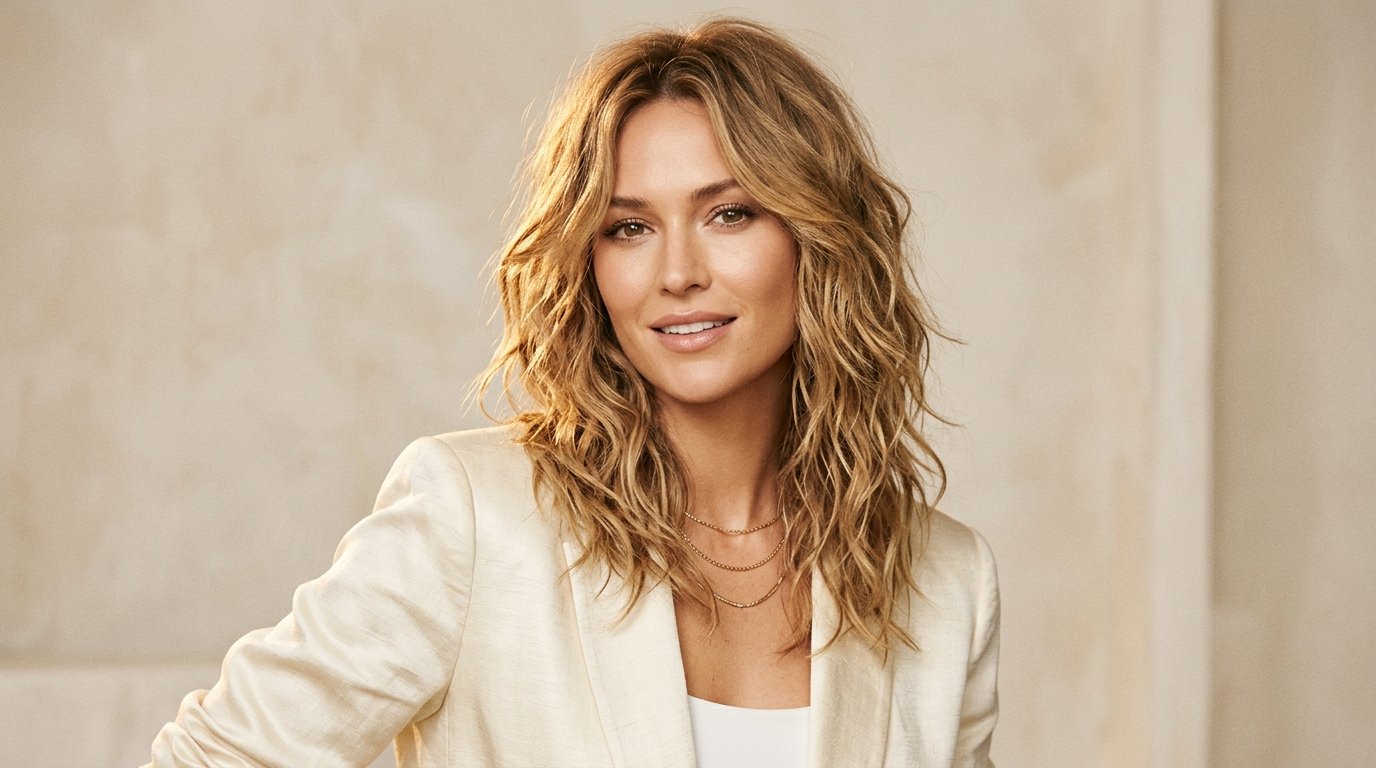
Celebrity Shaggy Hairstyles: The Techniques That Actually Recreate Them
Red carpet hair looks effortless because of technique, not luck. A great cut is the starting point. What actually recreates that finished look at home is the specific tool and method used afterward. This guide works through those techniques directly, rather than listing looks to admire from a distance.
Each section below covers one tool or method, and what it actually does to the hair. Together they cover most of what separates a professionally styled shag from an ordinary one.
Choosing a Length That Suits the Technique

Before any technique matters, the cut has to support it. A choppy shag at lob length, sitting between the collarbone and the jaw, gives most styling methods enough to work with without becoming heavy or hard to manage.
The choppy, razor-cut ends are what create texture at rest, before any product or tool touches the hair. That built-in texture means less styling effort is needed to get a finished result.
This length also holds up well between salon visits. The layers soften gradually rather than losing shape all at once, which keeps the cut looking intentional for longer.
Going Shorter Without Losing Movement
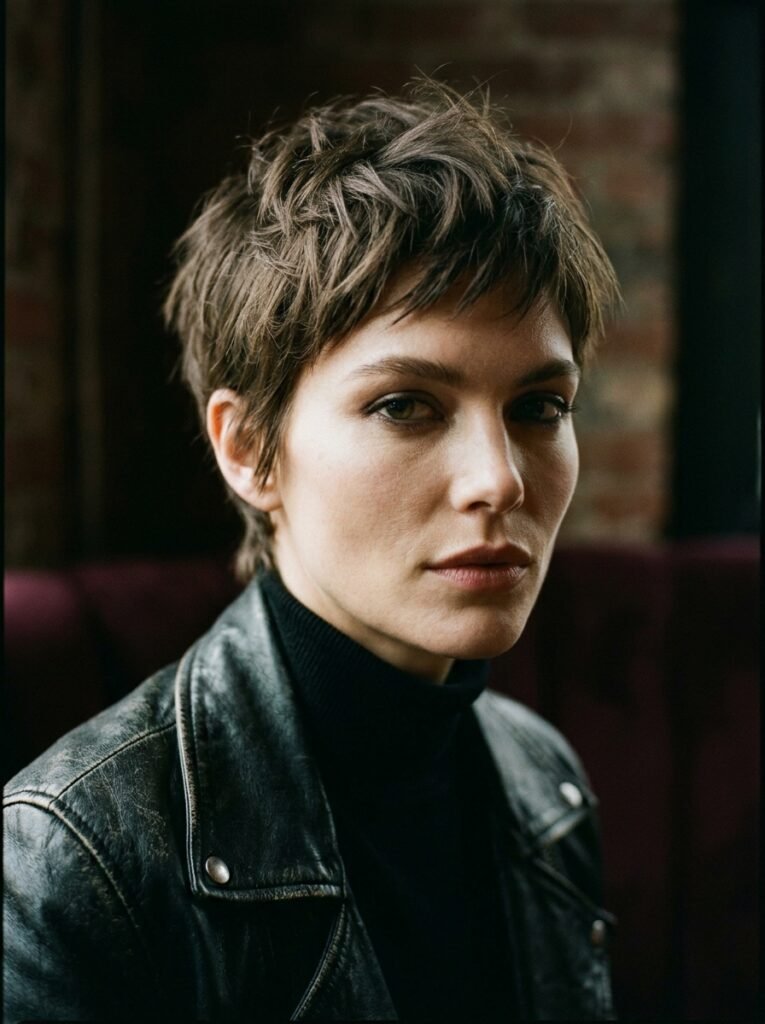
A shaggy pixie proves length is not what creates movement. Deliberate layering and a tousled finish do that work instead, even at a very close cut.
The technique here is almost entirely about texture, not shape. A small amount of paste worked through with the fingertips, pushed slightly upward at the crown, is usually the entire routine.
This length rewards confidence more than any other on this list. A shaggy pixie reads as a deliberate choice, not a smaller version of something longer.
Working With Natural Curl Pattern
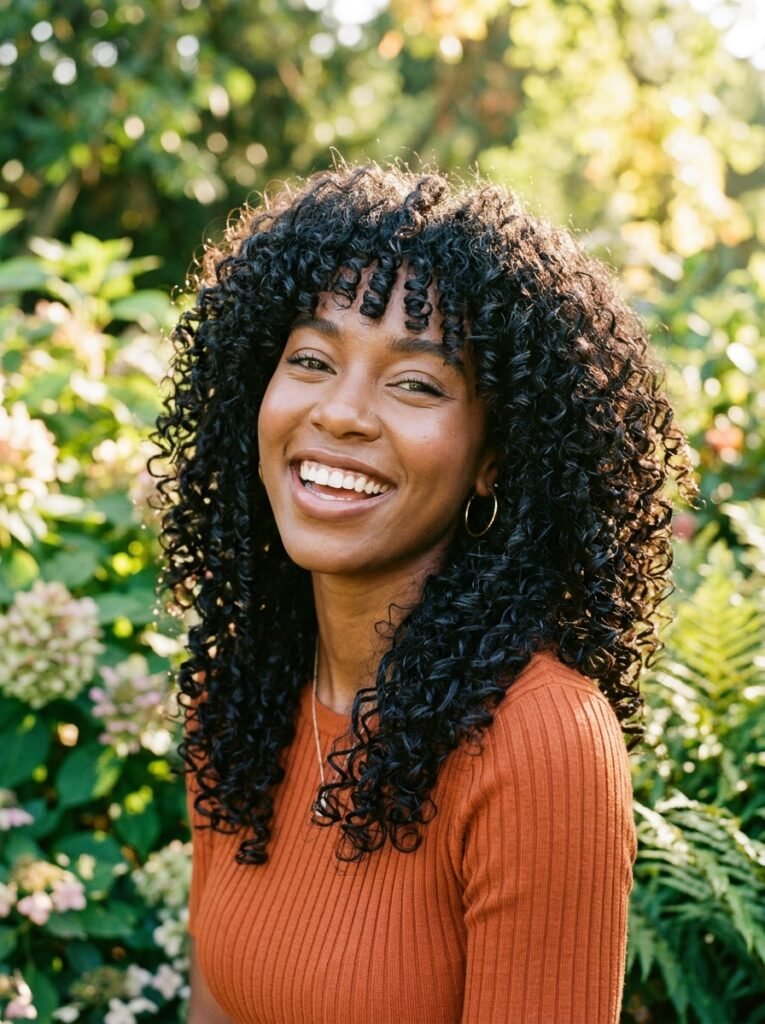
Curly hair needs the layering to remove weight rather than add shape. Once that excess weight comes out, the natural spring of each curl does most of the remaining work on its own.
The technique starts on soaking wet hair, not towel-dried hair. Leave-in conditioner and curl cream go on section by section, scrunched upward to encourage clumping. Diffusing to about eighty percent dry, then letting the last stretch air-dry, keeps the curl pattern intact.
Scrunching out the gel cast once hair is fully dry reveals the actual definition underneath. Skipping this step is the most common reason a good curl routine still looks stiff.
Building Texture With a Diffuser
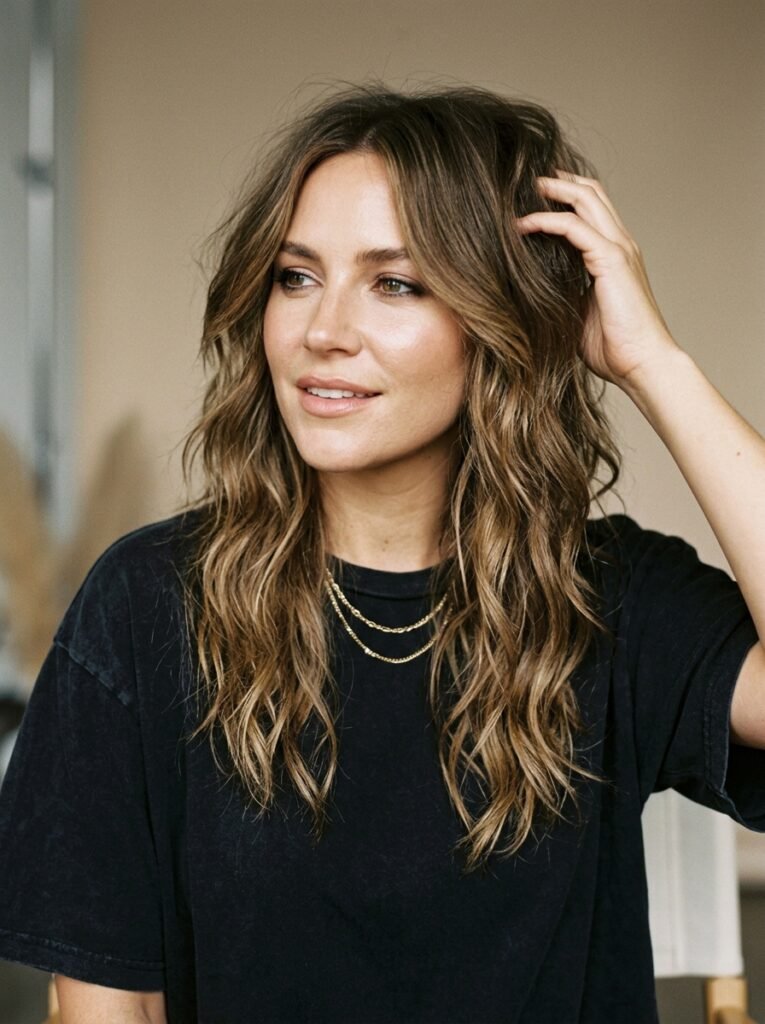
Wavy, undefined texture is the target here, rather than the tighter curl covered above. A diffuser spreads airflow gently, drying the hair without disturbing whatever natural wave pattern is already there.
Texturising spray or mousse goes on damp hair first. The diffuser cups sections loosely rather than pressing them flat, which keeps the movement soft and slightly irregular. That irregularity is what separates this from a uniform, obviously styled result.
Running fingers through the finished result, rather than a brush, breaks up any sections that dried too neatly. A light hair oil on the ends finishes the look with shine without weighing anything down.
The Round-Brush Blowout for Height and Sweep
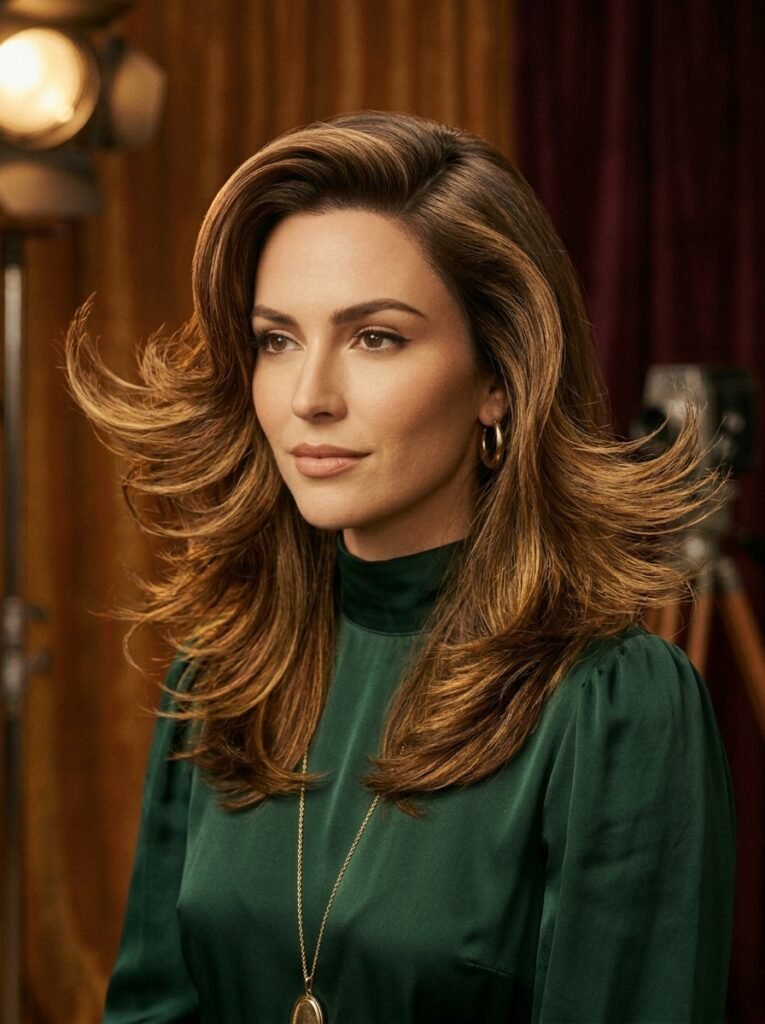
A feathered, swept-back finish depends entirely on the round brush rather than the cut itself. Rolling sections outward and away from the face while blow-drying builds the sweep that defines this look.
The final pass with cool air matters more than most people realise. Heat opens the outer layer of each strand to reshape it. Cold air then closes that layer back down, locking the new shape in place. A breakdown of blowout technique explains it well: skipping the cool shot is close to taking a cake out of the oven before it sets.
Volumising mousse at the roots before drying adds the lift this style depends on. Building maximum root volume is worth more time than any other single step in this technique.
Maximising Volume at the Crown
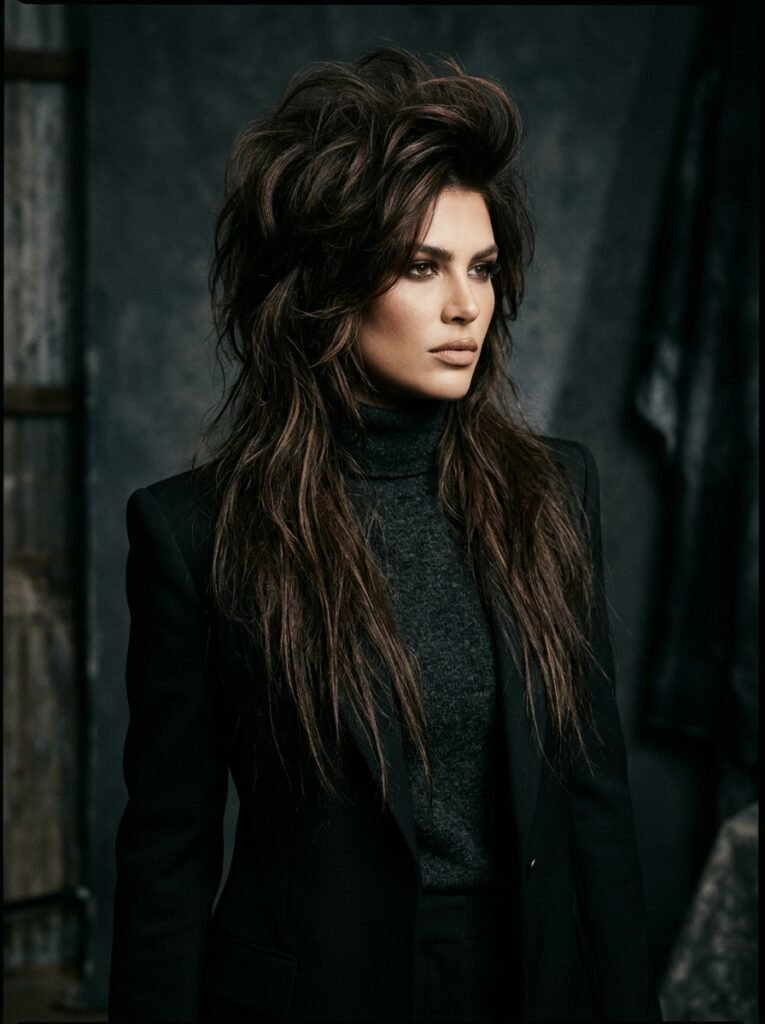
Heavy crown layers only read as dramatic when the volume underneath actually gets built. Flipping the head upside down and diffusing thoroughly at the roots is the fastest way to get there.
Returning upright and letting the lengths fall naturally is the second half of the technique. A little curl cream or texturising mousse through the lower sections afterward adds movement to contrast against that crown volume.
The contrast between the full crown and the looser ends is the entire point of this shape. Underdoing the crown volume is the most common reason this cut reads flat rather than dramatic.
The Curling Wand and Sea Salt Route
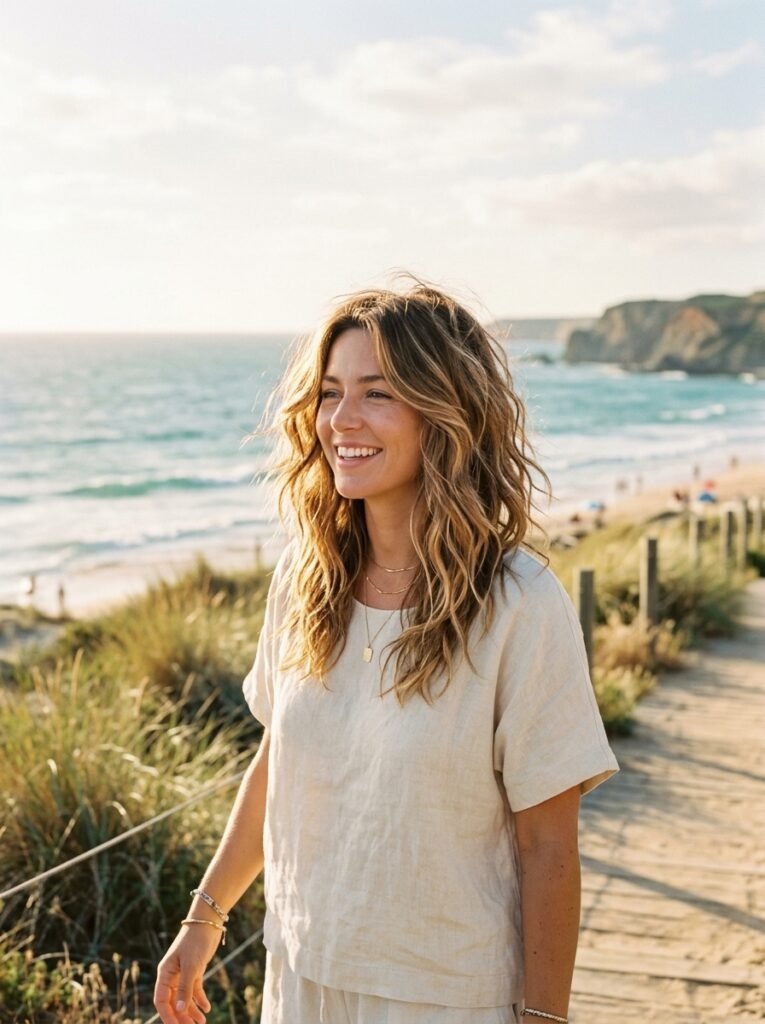
A beachy finish can come from product alone or from a large barrel wand, depending on the natural texture and the time available. Sea salt spray on damp hair, scrunched and air-dried, is the lower-effort route.
For more defined waves, a large barrel curling wand does the same job faster. Loose, alternating waves through the lengths, then tousled apart with the fingers, avoids the too-perfect look that gives curling away.
A little more texturising spray at the end breaks up any sections that curled too uniformly. Warm balayage or sun-kissed highlights add real depth to this finish, since the colour catches differently as the waves move.
Bringing Curtain Bangs Into the Mix
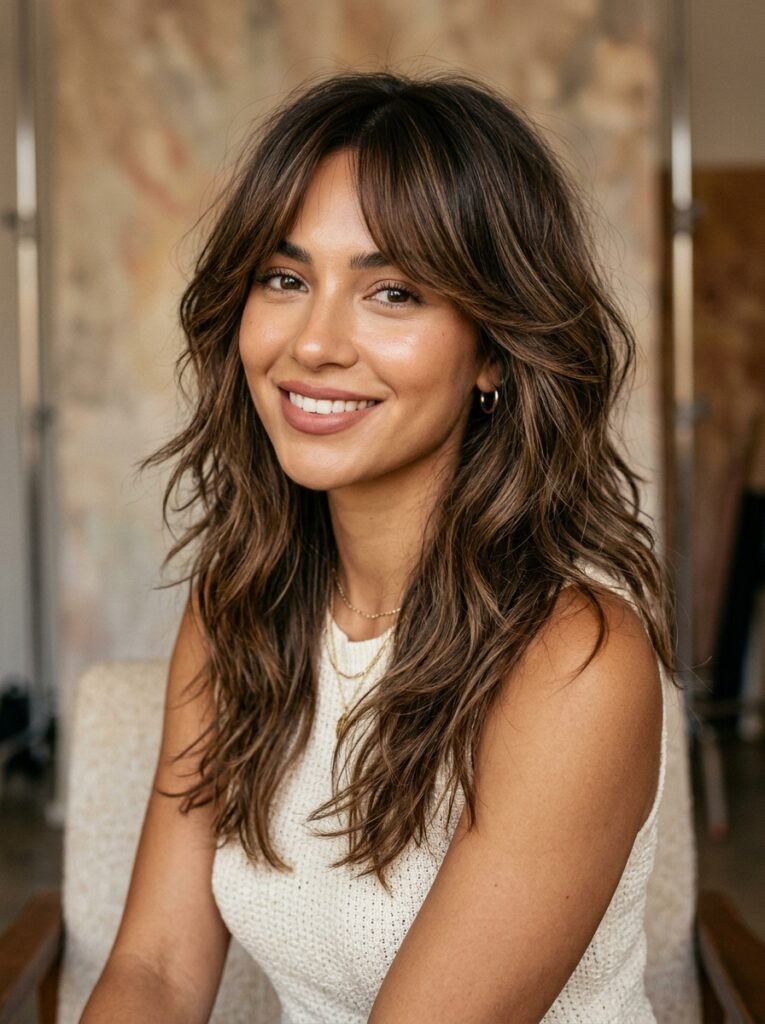
Curtain bangs add a face-framing layer to any of the techniques above, without changing the rest of the routine. They soften the whole look and give it a slightly more polished, intentional feel.
The bangs get styled first and separately. A round brush sweeps them gently outward on each side while drying, before the rest of the hair gets whichever technique suits its texture, diffusing, waving, or air-drying.
For anyone still deciding whether bangs are worth the extra step, this guide to curtain bangs hairstyles covers the decision in more depth on its own.
The Deep Side Part as a Finishing Detail

A deep side part changes the character of a shag without changing the cut at all. It adds drama and a slightly retro polish using nothing but styling direction.
The technique needs a little product worked directly into the root area at the part, since a deep part with no hold tends to drift back toward the centre through the day. A wide-tooth comb pushed firmly to one side while blow-drying sets the direction.
One side sweeps dramatically across the forehead. The other stays close to the head. That contrast between the two sides is what makes a deep part read as a deliberate styling choice rather than an accident.
The Hands-Off, Air-Dry Method
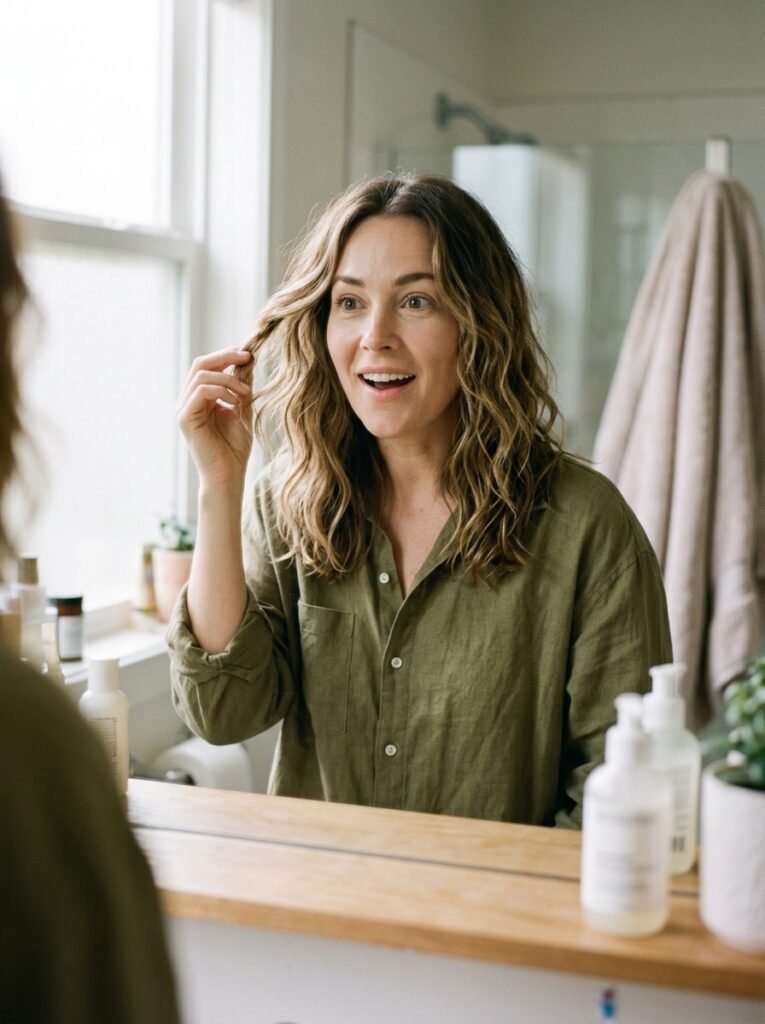
Sometimes the best technique is the least active one. Air-drying, done correctly, produces a result that looks like it required no effort at all, even though the setup still matters.
Product goes on soaking wet hair, not towel-dried hair. That distinction matters more than any specific product choice, since wet hair distributes product evenly as it dries. A leave-in conditioner, a lightweight cream, and a finishing spray usually cover it.
The hardest part is genuinely doing nothing once the product is in. Touching or restyling the hair while it dries is the fastest way to create frizz and undo the whole point of the method.
Final Thoughts
None of these techniques require professional equipment or years of practice. Most come down to one or two specific habits, done consistently, layered onto a cut built to support them.
Starting with a stylist who understands shag layering, then picking one technique from this list to master at a time, tends to work better than trying everything at once. The right combination is usually closer than it looks.
Frequently Asked Questions
Do expensive products matter for these techniques? Not particularly. A texturising spray, a leave-in conditioner, and either a curl cream or a light-hold gel cover most of what these techniques need, at almost any price point. The cut matters far more than the product brand.
Which technique suits fine hair best? The round-brush blowout and the diffuser technique both help fine hair look fuller, since both are built around adding lift and texture rather than smoothing it flat.
What tools cover most of these techniques? A diffuser, a large barrel curling wand, a round brush, and a wide-tooth comb cover nearly everything here. A microfiber towel for gentler initial drying is a small but genuinely useful addition.
How often does a shag need a trim to keep these techniques working? Every eight to ten weeks holds the layer definition these techniques rely on. Past that point, the layers soften and the same styling routine starts to look less defined.
Can these techniques be combined? Yes, and most finished looks actually use more than one. Curtain bangs styled with a round brush, paired with a diffused or air-dried length, is one of the more common combinations.